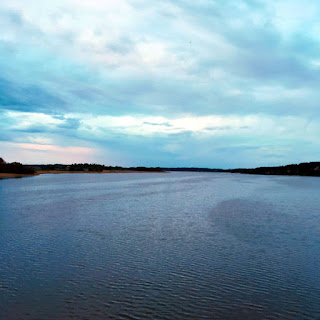
reverse light-filtered (phone application) photo
Assalamualaikum & Greetings.
this isn't really a tutorial cos people might knew this already but i've discovered this while just randomly going over some options in gimp. i love to edit using gimp cos so far it's been the most easiest free online editing photos tool to use. okay, back to the topic. what i'm going to show you today is how to turn the light filtered photo (like the ones that used b612, vsco or etc.) to the original unfiltered ones (or something close to that)
Tools needed: GIMP
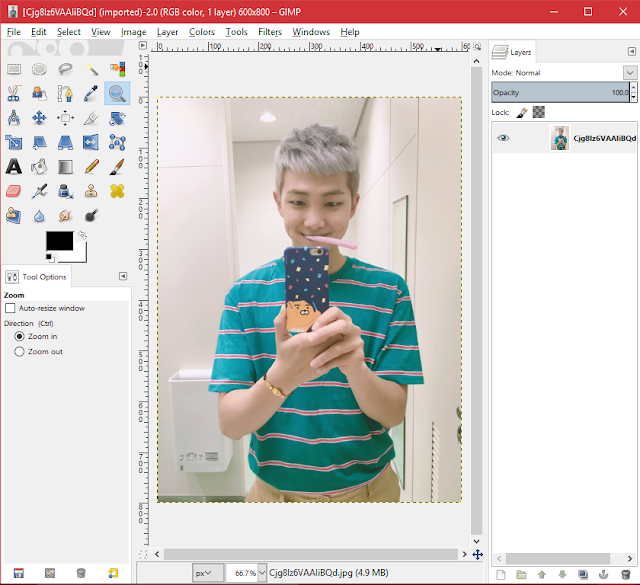
1. first of all, open the picture you wanted to edit in GIMP
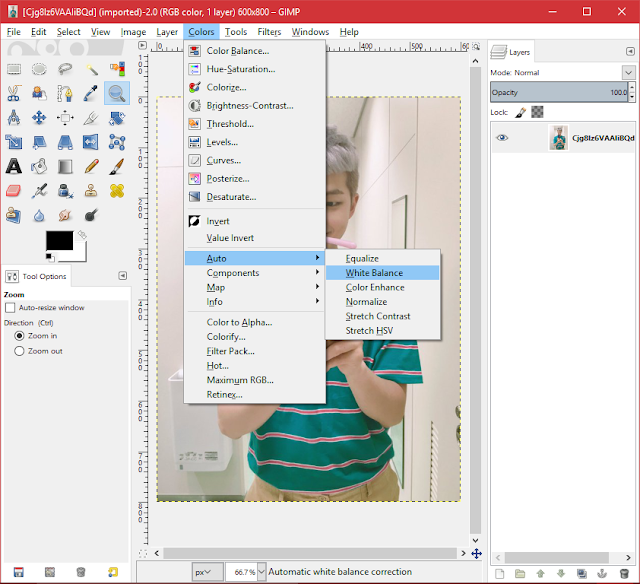
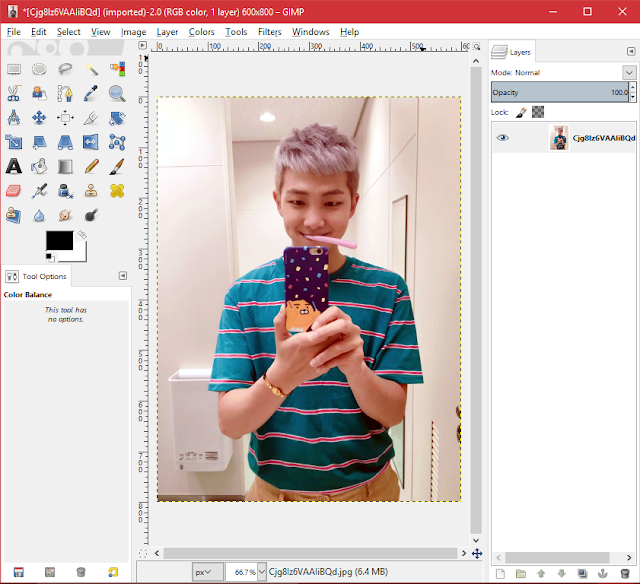
3. and you'll get this (noted that the picture have too much redness, so i'll teach you some extra to lessen the red filters too)
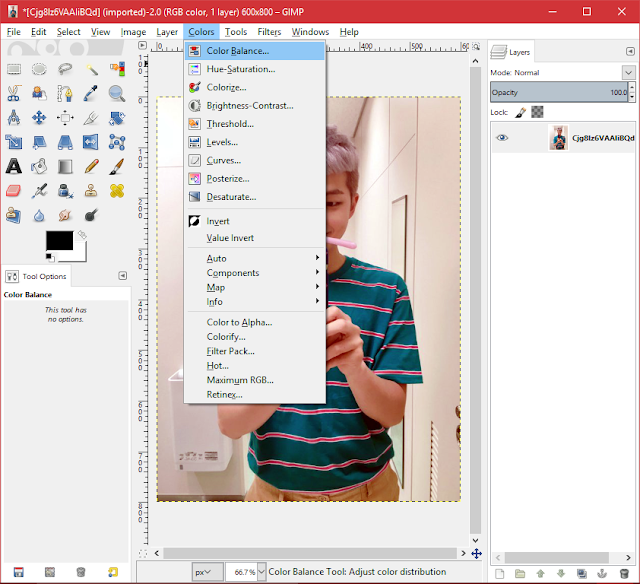
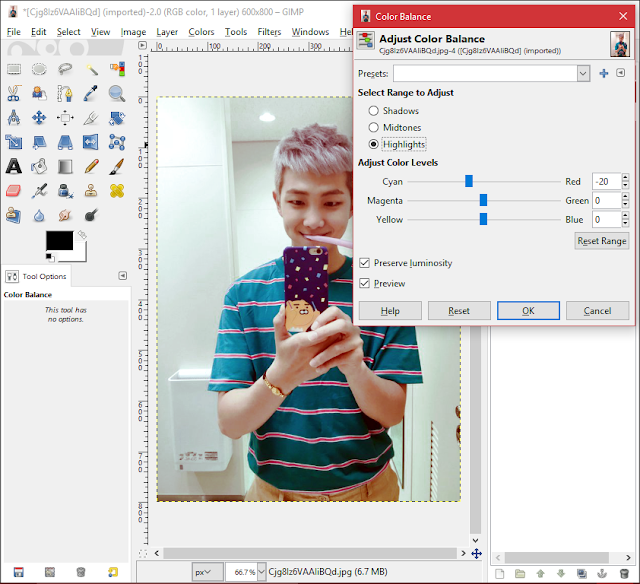
5. then using highlights (which covers the most bright part of the image), lessen the first ones to -20. this will lessen the red highlights in the picture.
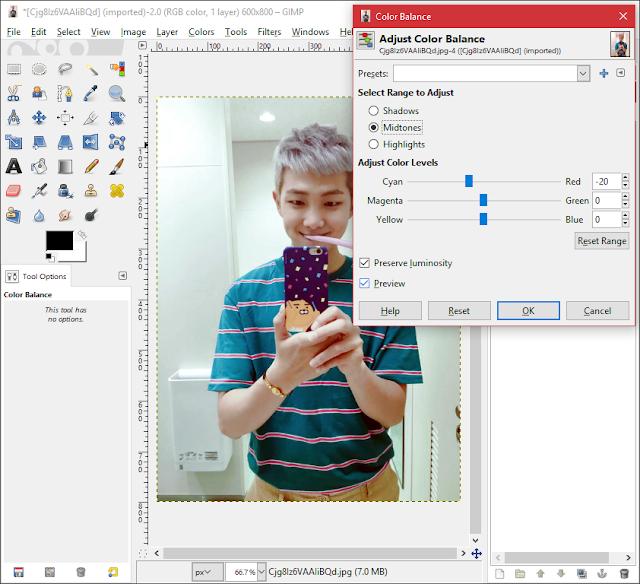
6. in the same tab also, go to midtones and lessen it the same as before. this will lessen the midtones of red (majority of the color used)

this isn't really a tutorial cos people might knew this already but i've discovered this while just randomly going over some options in gimp. i love to edit using gimp cos so far it's been the most easiest free online editing photos tool to use. okay, back to the topic. what i'm going to show you today is how to turn the light filtered photo (like the ones that used b612, vsco or etc.) to the original unfiltered ones (or something close to that)


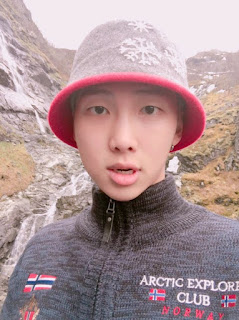
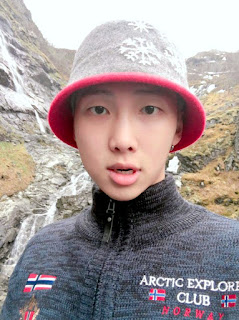
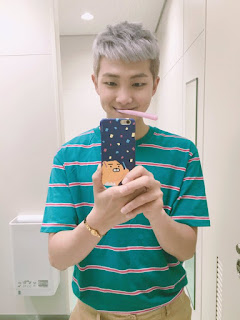
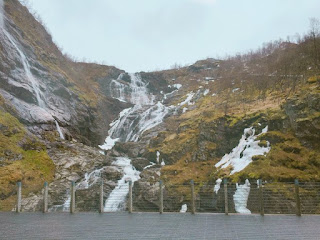
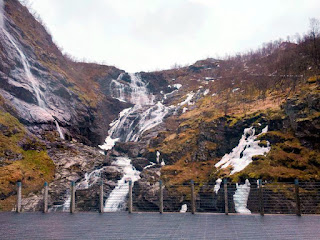
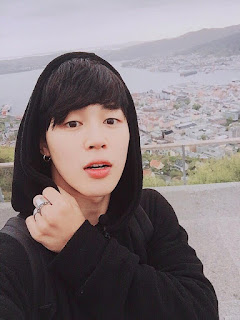
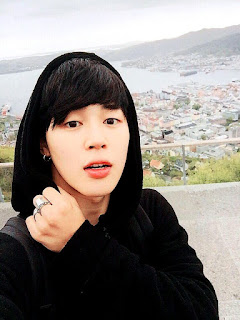
left (filtered); right (reversed filter)


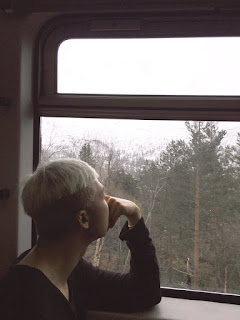
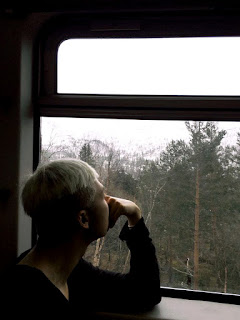
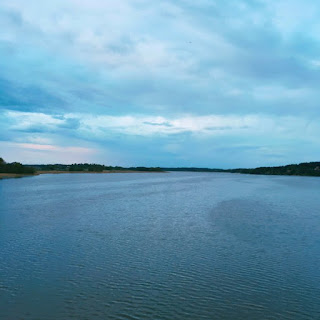
left (filtered); right (reversed filter)
as you can see, the quality becomes more vivid and seems like unfiltered. so, that's exactly what we're aiming for. but, this only works for bright pictures (the ones that caught in daylight) and also the ones that using light filters like this, not heavily edits like sketch or 3d thingy. okay, let's continue reversing the photos.
Tools needed: GIMP
1. first of all, open the picture you wanted to edit in GIMP

2. then, go to colors > auto > white balance

3. and you'll get this (noted that the picture have too much redness, so i'll teach you some extra to lessen the red filters too)

4. go to colors > color balance


notes:
- if the picture is kinda the same after step 2, that means the white balance in the picture is fine. or, the picture is the original ones.
- step 5 and 6 is not needed if the photo turns out okay. these two steps are only if the picture is having too much of such colors.
so, the last output would be;


the reverse filter only works for light filtered ones, okay and i'm sorry if the reversed one isn't as beautiful but i kinda like the conversion i did so far. and also, i'm using @BTS_twt pictures cos they love using filters and sometimes, i just like the original better. so, below i'm gonna compile some of the reversed edits i made :) enjoy and thanks for reading~


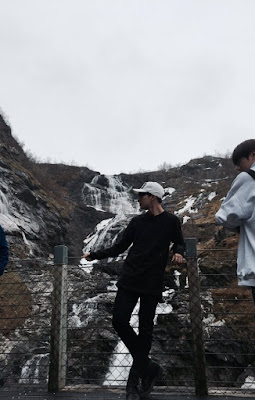
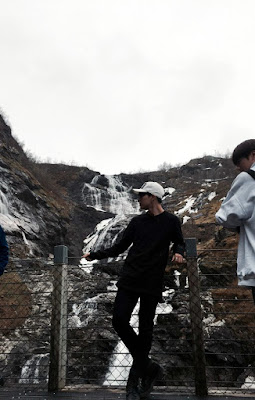
taken by Kim-Taehyung


posted by Park-Jimin


taken by Park-Jimin
Comments